Starting with stick welding can feel overwhelming. Oscar Kjellberg created the first coated welding electrode in 1904. This guide breaks down stick welding basics, making it easier for you.
Let’s start learning.
Key Takeaways
- Stick welding, also called SMAW, joins metals using a coated electrode. Oscar Kjellberg invented the first one in 1904.
- You need stick electrodes, an electrode holder, and a welding machine to start with stick welding. E6013 or E7016/E7018 are good first choices for beginners.
- Set up your equipment right before you weld. This means choosing correct amperage and polarity based on your metal and job type.
- Practice striking an arc and managing your travel speed and angle well to make strong welds.
- Keep electrodes dry, especially low-hydrogen ones. If they get wet, bake them at 700°F for an hour to fix them.
What is Stick Welding?

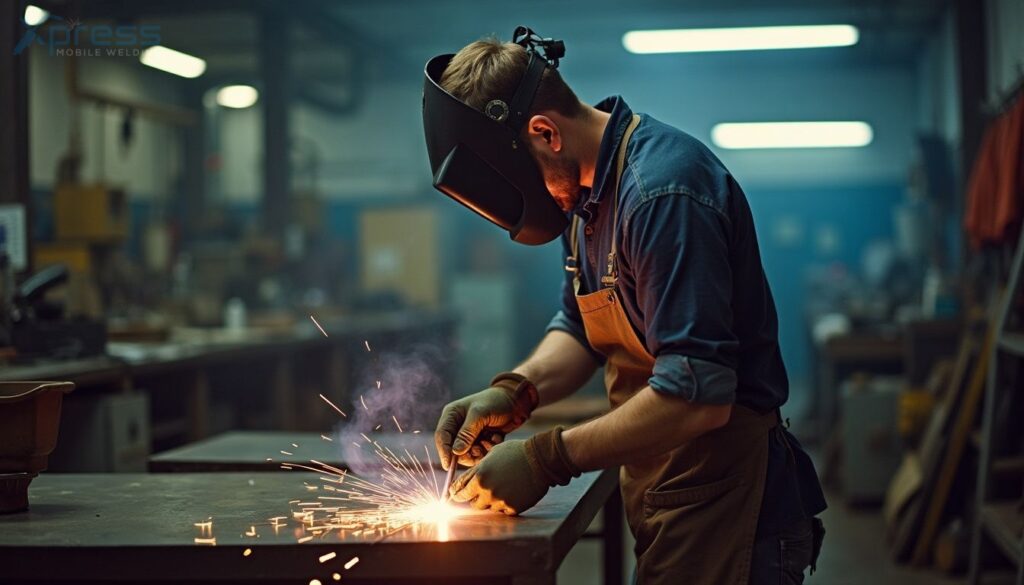
Stick welding, also known as shielded metal arc welding (SMAW), is the oldest and most basic form of arc welding. It uses a fixed “stick” electrode and an electric current to join different metals.
Stick welding is versatile and can be used in various applications, making it a popular choice for many welders.
Definition and Basic Concept
Shielded Metal Arc Welding, or SMAW, is a way to join metals using a coated electrode that melts into the joint. The coating protects the weld area from air, which can cause flaws in the weld.
This method is well-liked for its simplicity and how easy it is to carry around.
Stick welding combines heat and electricity to melt metal, making strong joins between pieces.
In SMAW, an electric current heats up the electrode. This creates an arc. The heat from this arc melts the electrode’s core wire. It also melts part of the base metal. As these molten parts cool down, they form a solid bond.
This process works with different kinds of metals like mild steel and cast iron.
Brief History of Stick Welding
Moving from the basic concept, let’s explore how stick welding came to be. Stick welding started a long time ago. The first big step happened in 1904. Oscar Kjellberg made the first coated welding electrode then.
Before that, people used different ways to join metals. They used heat and hammers in 3000 BC for forge welding. In the late 1700s and early 1800s, scientists played with arc technology to understand its power.
By the end of the 19th century, methods using carbon arcs began fusing metals together more effectively. Nikolai Bernados got it right in 1885 by using a carbon arc for metal fusion.
A bit later, Nicolai Slawja now connected a metal workpiece with an arc, making another leap forward in what we now call stick welding.
Essential Equipment for Stick Welding
To start stick welding, you’ll need essential equipment like stick electrodes and an electrode holder. The welding machine is also crucial for producing the necessary power to create strong welds.
Stick electrodes are a key part of stick welding, also known as Shielded Metal Arc Welding (SMAW). These rods melt to join metals together. They have a coating that creates a gas shield and slag, protecting the weld from air while it cools.
North America uses about 150 million to 200 million pounds of these electrodes each year. Beginners often start with E6013 or E7016/E7018 for carbon steel because they’re easier to use.
Electrodes come in different types, like carbon steel or stainless steel — think grades like 304L and 316L. There are also special ones for aluminum and hardfacing jobs. The coating on the rod matters too; it helps with arc stability and determines how deep the weld goes into the metal.
Every stick electrode has a job, from joining thin sheets to tackling thick beams.
Electrode Holder
Choosing the right holder is as vital as picking the correct electrodes. Two main types exist: Tongs and Twist Lock holders. Each serves its purpose in the welding process, ensuring a strong grip on the electrode for precise work.
The Tongs type is common for quick jobs, easy to squeeze and release. Meanwhile, Twist Lock holders secure electrodes firmly for longer tasks, reducing slips or mishaps. Both aim to keep a steady arc during welding, making them essential tools for any welder’s kit.
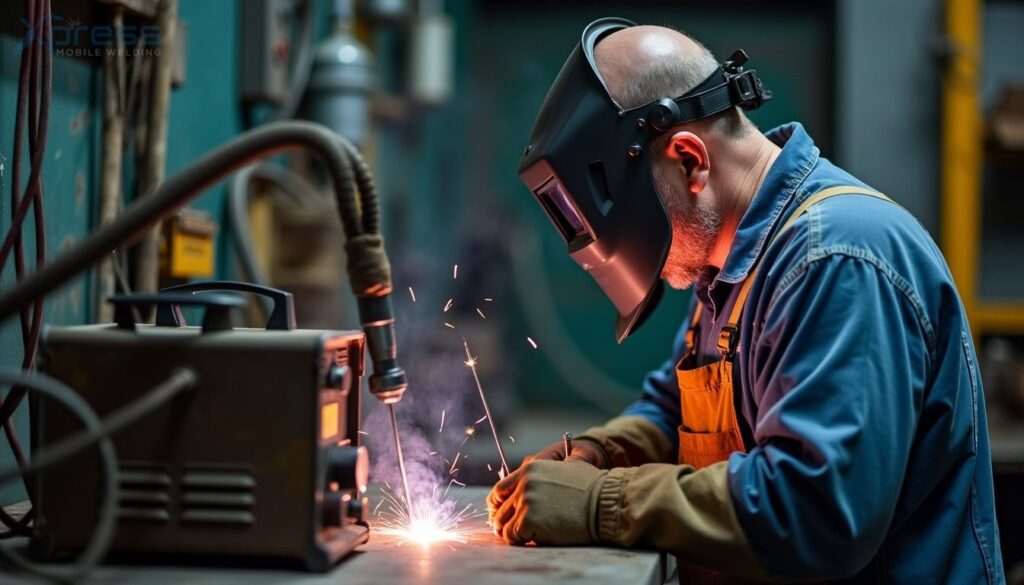
Welding Machine
A welding machine is key for stick welding. It sends power to melt metal and join pieces together. One type, the VIPER 185 MIG/TIG/STICK WELDER, works well here. It uses inverter-based tech to control the weld.
This makes it flexible for many tasks.
These machines can adjust their power level or amperage. This lets you work with different metals and thicknesses. Knowing how to set the right amperage is crucial for a good weld.
The machine also needs the correct polarity setting, either electrode positive or negative, based on the job.
Setting Up Your Stick Welding Equipment
When setting up your stick welding equipment, ensure the machine is correctly assembled and connected to a power source.
Adjust the settings and amperage on the welding machine according to the specific requirements of your welding project.
Machine Setup
Setting up your stick welding machine is crucial for a good weld. E6010 electrodes need a power source with high open-circuit voltage and big inductors. Here’s how to set it up:
- Choose the right electrodes. For example, E6010 for deep penetration on dirty or rusty metal.
- Connect your electrode holder to the positive terminal if you’re using most common electrodes.
- Clamp the work lead to the negative terminal and attach it firmly to your workpiece.
- Plug in your welding machine and turn it on.
- Set your machine’s current based on electrode size. A 1/8 inch E6010 typically needs about 75 to 125 amps.
- Select amperage on your machine to match electrode diameter and work thickness.
- Check polarity requirements for your electrode type—E6010 works best with direct current electrode positive (DCEP).
- Adjust arc force control, if available, according to thickness of metal being welded.
Now that everything is set up, you’re ready to start welding.
Next, let’s look at adjusting settings for different welding tasks.
Settings & Amperage
After setting up your machine, it’s crucial to adjust the settings and amperage. This ensures your welds are strong and clean.
- Choose the right amperage for your electrode size. A simple rule is 1 amp per 0.001 inch of electrode diameter.
- For thicker metals, use higher amperage to ensure deep penetration.
- Lower amperage works better for thin metals to prevent burning through.
- Check electrode packaging for recommended amperage ranges.
- Adjust your welding machine to AC or DC, based on electrode requirements.
- Use a lower setting for sheet metal; it needs less heat.
- Increase amperage gradually if the arc keeps going out.
- Keep an eye on the weld pool size; it tells you if your settings are right.
- For overhead welding, reduce amperage to avoid drooping or spatter.
- Practice on scrap metal first to find the perfect setting before starting on your project.
This approach helps you manage heat input and control molten metal better, making strong and clean welds possible every time.
Polarity Considerations
After adjusting settings and amperage, focus on polarity. This affects welding quality and electrode choice.
- Understand two main polarities: electrode positive (EP) and electrode negative (EN).
- EP sends more heat to the metal, good for deeper welds.
- EN puts less heat on metal, reducing burn-through risk.
- Most stick welding uses EP for stronger welds.
- Check electrode packaging for recommended polarity.
- Changing polarity can improve arc stability.
- Use EP when welding thicker metals.
- Choose EN for thin sheet metals to avoid holes.
- Always test on scrap metal before starting real work.
This ensures proper heat and penetration in your welds.
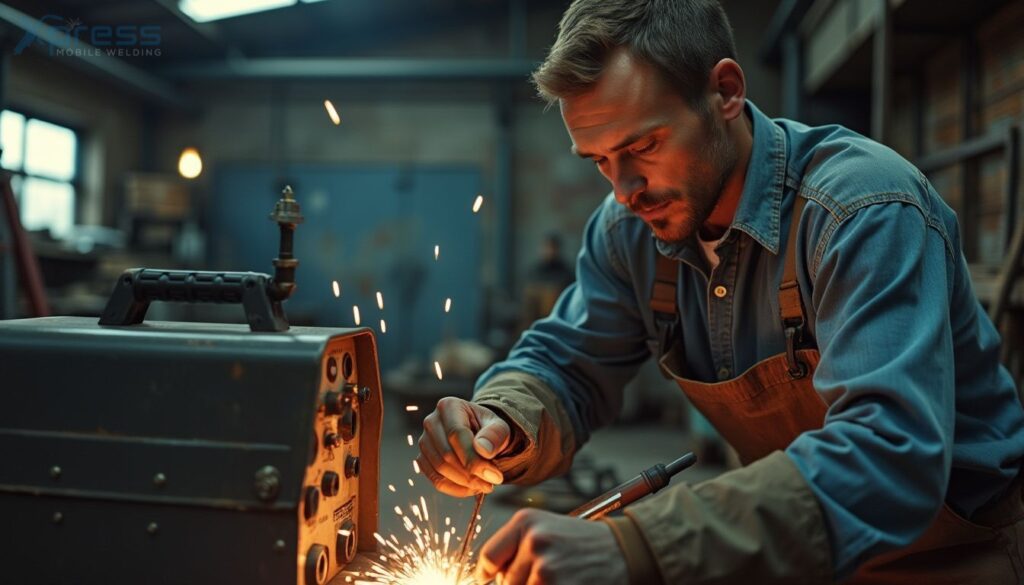
Techniques for Effective Stick Welding
Mastering stick welding requires precise techniques for a successful weld. Striking an arc, managing travel speed and distance, as well as work and travel angles are crucial elements to ensure quality results – read more for valuable insights into refining your stick welding skills!
Striking an arc in stick welding starts the weld. It’s like lighting a match to start a fire.
- Hold your electrode holder with the rod close to where you want to weld.
- Swiftly tap the electrode on the metal, like striking a match.
- Lift it slightly to create a gap. Not too far, just enough to start melting metal.
- Keep the right distance between the electrode and metal. Too close, and it sticks; too far, and it stops.
- Watch for a steady spark or arc. This means you’re doing it right.
- Move smoothly along your weld joint, keeping the spark alive.
- Adjust your speed as needed. Fast moves make thin welds; slow ones make thick.
- Finish with a smooth motion away from the metal to break the arc cleanly.
Every step helps create strong, clean welds in metals like mild steel or stainless steel using electrodes coated in materials that protect your weld from air while working.
Work Angle and Travel Angle
When transitioning from “Striking an Arc” to “Work Angle and Travel Angle,” it is important to comprehend the proper angles when stick welding. Here’s a detailed breakdown:
- Work Angle: The work angle denotes the angle at which the electrode is positioned in relation to the workpiece. It plays a crucial role in determining the shape and quality of the weld bead. For example, a slight drag angle, where the electrode points back towards the direction of travel, is typically used for flat positions.
- Travel Angle: The travel angle is the angle at which the electrode is tilted in relation to the workpiece surface during welding. Maintaining a consistent and appropriate travel angle contributes to uniform weld bead formation and fusion with the base metal. For instance, a 5-15 degree push angle is commonly used for flat positions when welding.
- Proper work and travel angles are vital for achieving strong and visually appealing welds.
- Welders must adjust these angles based on various factors such as joint configuration, material thickness, and welding position.
- Understanding how work and travel angles influence molten metal flow is crucial for producing effective stick welds.
Managing Travel Speed and Distance
To manage travel speed and distance in stick welding:
- Maintain a consistent travel speed to achieve even welds.
- Control the distance between the electrode and the workpiece for proper heat input.
- Avoid excessively fast or slow travel speeds, as they can result in inconsistent weld bead formation.
- Ensure a constant travel speed to prevent uneven buildup of metal.
- Keep a consistent interpass temperature by managing travel speed and distance effectively.
By mastering these techniques, you can produce high-quality stick welds efficiently.
Common Stick Welding Challenges and Solutions
Stick welding can present challenges when dealing with moisture in the electrodes. Managing this effectively is crucial for producing quality welds. Proper storage and handling of electrodes are essential to prevent moisture absorption.
Selecting the right consumables is vital when tackling stick welding challenges. Different types of coatings and electrode classifications cater to specific welding needs, so it’s important to choose wisely.
Moisture Management
Moisture can ruin electrodes. Low-hydrogen ones are especially sensitive to moisture. Keep them in a dry and warm place to prevent damage. If they get wet, bake them at 700°F for an hour to recondition them.
Stick welding requires keeping electrodes dry. Moisture can harm low-hydrogen electrodes, so store them in a warm, dry spot. If they get damp, restore them by baking at 700°F for one hour.
Avoiding Common Mistakes
To ensure successful stick welding, it is vital to avoid common mistakes. These errors can lead to faulty welds and safety hazards. Here are essential points to steer clear of these errors:
- Insufficient cleaning: Failing to adequately clean the base metal before welding can result in impurities affecting the weld quality.
- Ignoring electrode storage guidelines: Improper storage can cause moisture buildup on electrodes, leading to defects in the weld.
- Neglecting proper amperage settings: Incorrect amperage settings can impact penetration and overall weld quality.
- Overextending or not maintaining the correct arc length: Proper arc length is crucial for achieving a sound weld; either extreme can lead to defects.
- Poor travel speed control: Inconsistent travel speed affects bead appearance and penetration, resulting in an inadequate weld.
- Lack of prep for overhead positions: Inadequate preparation for welding in overhead positions leads to increased vulnerability to defects.
- Disregarding personal protective equipment (PPE): Failure to use appropriate PPE exposes the welder to potential hazards such as burns, fumes, and electrical shocks.
Selecting the Right Consumables
When selecting the right consumables for stick welding, it’s important to consider the type of electrodes. Common classifications include E6010, E6011, E6013, E7016, E7018, and E7024.
For beginners working with carbon steel, recommended electrodes are E6013 and either E7016 or E7018. These specific types of electrodes are essential in ensuring a successful and effective stick welding process.
Advanced Tips for Stick Welding
Mastering TIG Welding: Exploring Advanced Techniques for Stick Welders.
Discover the methods for welding various metals and perfect skills for vertical and overhead welding, crucial for those aiming beyond the fundamental aspects.
Working with Different Metals
Stick welding can be applied to various metals, such as carbon steel and stainless steel. For carbon steel, electrodes like E6010, E7018, or specialized wires for buildup and hardfacing may be used.
Meanwhile, when working with stainless steel grades like 304L, 308L, 309L, and 316L, it is crucial to use specific electrode grades to ensure a robust weld. Matching the metal type with the appropriate electrode or wire is fundamental for optimal results.
When welding aluminum with stick methods, specific techniques are required due to the metal’s unique characteristics. Understanding the intricacies of each metal is vital to choosing appropriate consumables and setting the correct amperage levels on your welding machine.
Techniques for Vertical and Overhead Welding
- Vertical Welding:
- Welding in a vertical position can be challenging but is essential for certain projects.
- Maintain a steady travel angle and move the electrode upwards to ensure proper fusion and penetration.
- Control the weld puddle to prevent excessive buildup at the bottom of the joint.
- Overhead Welding:
- Overhead welding requires careful control to prevent drips or sagging of the molten metal.
- Hold a shorter arc length than usual and adjust your speed to accommodate for gravity.
- Use whip and pause techniques to manage the weld pool without creating excessive spatter.
- Adjusting Technique:
- Adapting techniques for different joint configurations is crucial when welding in vertical or overhead positions.
- Experiment with different travel angles, amperage settings, and electrode manipulation methods to find what works best for each situation.
- Safety Measures:
- Always ensure that your work area is clear, secure, and that you are using appropriate safety gear when working overhead or vertically.
- Take additional precautions to protect yourself from any potential hazards related to welding in these positions.
- Advanced Tips:
- Consider advanced training or workshops focused on specific challenges related to vertical and overhead welding techniques.
- Specialized Equipment:
- Certain specialized equipment, such as adjustable fixtures or support devices, can facilitate easier execution of vertical and overhead welding tasks.
- Fine-tuning Your Skills:
- Continuously practicing these techniques is key to mastering them.
- Seek Guidance:
- Don’t hesitate to seek guidance from experienced professionals on refining your skills in these challenging positions.
Safety Measures in Stick Welding
When stick welding, always wear the proper personal protective equipment like gloves, helmet, and flame-resistant clothing. Maintain a clean work area to prevent tripping hazards and keep fire extinguishers easily accessible in case of emergencies.
Personal Protective Equipment
Personal protective equipment (PPE) plays a crucial role in ensuring safety during stick welding. Below is a comprehensive list of essential gear:
- Welding Helmet: Safeguards the face and eyes from sparks and UV radiation.
- Welding Gloves: Heat-resistant gloves shield hands from burns and sparks.
- Fire-Resistant Attire: Prevents burns and provides protection against welding spatter.
- Closed-Toe Leather Boots: Shields feet from heavy falling objects and hot metal.
- Respiratory Protection: Masks or respirators safeguard against harmful fumes and gases.
- Ear Protection: Shields ears from loud welding noise, preventing hearing damage.
- Protective Eyewear: Safety glasses or goggles protect against flying debris and splashes.
It’s important to use proper PPE to avoid injuries during stick welding.
Safe Welding Practices
Stick Welding Safe Practices:
- Always wear proper protective gear, including a welding helmet, gloves, and flame-resistant clothing to safeguard against burns and eye damage.
- Ensure proper ventilation in the workspace to minimize exposure to welding fumes, which can cause respiratory issues and other health concerns.
- Keep the work area clear of flammable materials and ensure that fire extinguishing equipment is readily available in case of emergencies.
- Inspect all equipment before use, checking for any damage or defects that could compromise safety during welding operations.
- Avoid working alone when stick welding, especially in hazardous environments or when handling heavy materials that may require assistance.
End with: “Following these safe practices is essential for protecting yourself and others while engaging in stick welding activities.
Conclusion
Mastering stick welding basics is crucial for anyone interested in fabrication and metalworking. With a clear understanding of electrode coatings, equipment setup, and welding techniques, one can confidently start on various welding projects.
Stick welding’s versatility makes it a valuable skill to possess in the world of metalworking. By mastering this fundamental guide, you’ll be well-prepared to tackle diverse welding challenges with precision and expertise—opening doors to new opportunities in construction, manufacturing, and beyond.
Expert Mobile Welding Services Near You
Take your stick welding skills to the next level with Xpress Mobile Welding in Gilbert, AZ! Our professional team offers tailored on-site training designed for all skill levels. Enjoy the convenience of learning in your own space. Don’t hesitate—reach out today and start your welding adventure!