Are you ready to unleash your inner welder and take on home DIY welding repairs? With our comprehensive guide, you’ll gain the knowledge and skills needed to tackle various welding projects with confidence. Whether you’re a beginner or looking to refine your skills, we’ve got you covered.
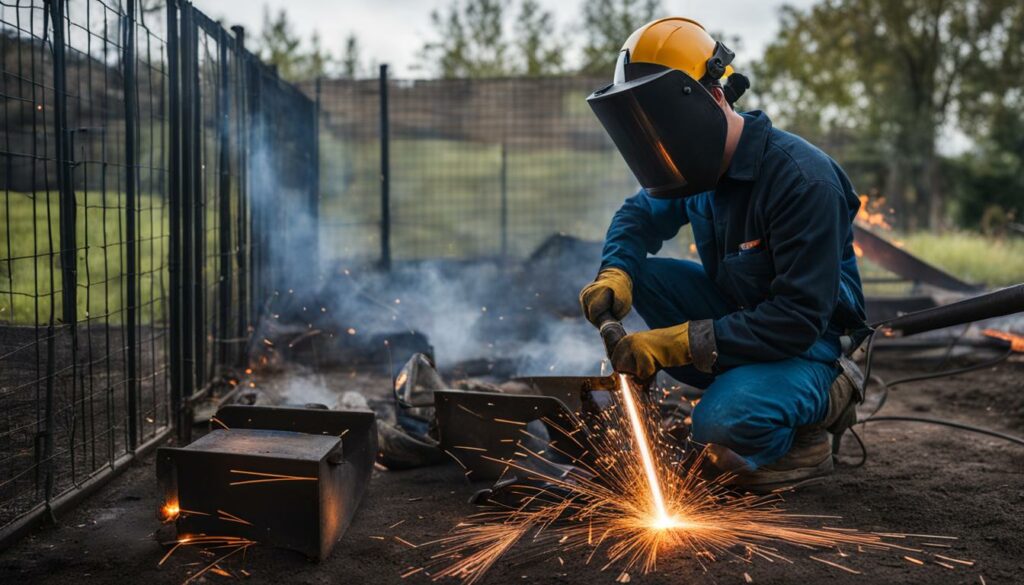
Welding is a versatile fabrication process that joins metals together using heat. From fixing broken fences to crafting artistic sculptures, welding can be used for a range of purposes. But before diving into the world of welding, it’s important to understand the different types of welding techniques and the safety precautions to follow.
By attending welding classes at reputable institutions or accessing online tutorials, you can learn the ins and outs of welding. The Crucible, for example, offers beginner and advanced welding classes covering various techniques such as MIG, TIG, and stick welding. Remember, safety should always be a top priority, so researching and understanding different welding techniques is crucial.
Key Takeaways:
- Welding is a fabrication process that joins metals using heat.
- Types of welding techniques include oxy-acetylene gas welding, arc or stick welding, MIG welding, and TIG welding.
- Attending classes or accessing online tutorials is a great way to learn welding.
- The Crucible offers welding classes for beginners and advanced learners.
- Always prioritize safety and research different welding techniques before starting a project.
Understanding Different Welding Techniques
When it comes to welding, there are several techniques that you should be familiar with to choose the right one for your project. Each technique has its own advantages and applications, making it important to understand their principles and capabilities. Let’s take a closer look at some of the most commonly used welding techniques:
Arc Welding (Stick Welding)
Arc welding, also known as stick welding, is a versatile technique widely used in construction and repair work. It involves the use of a consumable electrode coated in flux, which creates a protective gas shield during the welding process. Arc welding is known for its ability to handle thicker materials and its suitability for outdoor applications.

MIG Welding
MIG welding, also known as Gas Metal Arc Welding (GMAW), is a popular technique due to its ease of use and versatility. It involves the use of a wire electrode and a shielding gas to create the weld. MIG welding is known for its speed and simplicity, making it suitable for a wide range of projects, including automotive repairs, fabrication, and general maintenance.
TIG Welding
TIG welding, also known as Gas Tungsten Arc Welding (GTAW), is a precise and high-quality technique. It uses a non-consumable tungsten electrode and a separate filler material to create the weld. TIG welding is commonly used for thin materials, intricate projects, and applications that require excellent weld aesthetics and control.
By understanding the principles and applications of each welding technique, you can confidently select the right one for your project. Whether you’re working on construction, repair, fabrication, or artistic projects, choosing the appropriate welding technique will ensure the best results.
Welding Safety Apparel and Equipment
When it comes to welding, safety should always be your top priority. The right safety apparel and equipment not only protect you from potential hazards but also ensure the quality and precision of your welds. Here are some essential items to consider:
Welding Helmets
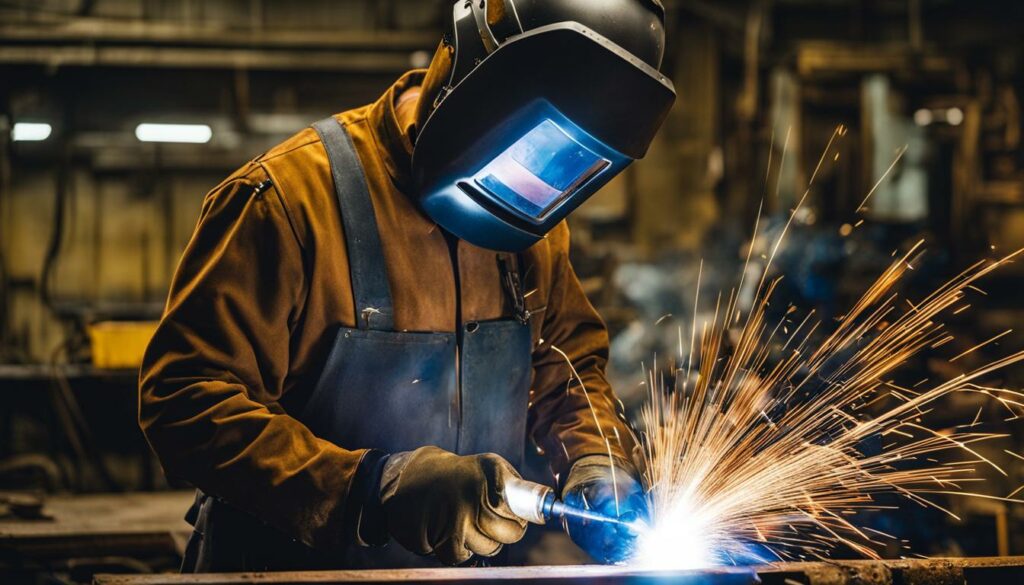
A welding helmet is your first line of defense against harmful arc radiation, sparks, and debris. Look for a helmet with a proper shade level for the type of welding you’ll be doing. Auto-darkening helmets are popular due to their ability to automatically adjust the shade based on the arc brightness.
Welding Gloves
Your hands are constantly exposed to extreme heat, molten metal, and spatter while welding. Invest in high-quality welding gloves that provide heat resistance and dexterity. Choose gloves made from materials like leather or cowhide for maximum protection.
Protective Clothing
Long-sleeved work shirts, welding aprons or jackets, and denim or work pants are essential to shield your body from sparks, heat, and UV radiation. Opt for flame-resistant materials that offer durability and protection.
Eye and Face Protection
Safety glasses with side shields are crucial for shielding your eyes from flying debris and harmful UV rays. Additionally, consider wearing a welding face shield or goggles for added protection against intense light and splatter.
Proper Footwear
Welding involves working with hot metal and sparks that can easily damage regular shoes. Invest in leather work boots or shoes with a steel toe and heat-resistant soles for maximum foot protection.
Welding Equipment
Alongside safety apparel, having the right welding equipment is essential for a successful welding project. Here are some key welding equipment items you’ll need:
| Equipment | Description |
|---|---|
| Welding Machine | The heart of any welding setup, a welding machine provides the electrical current necessary for the welding process. |
| Welding Torch or Gun | This handheld tool guides the welding wire and controls the welding process. |
| Wire Feeder | A wire feeder assists in delivering the welding wire smoothly and continuously to the welding torch. |
| Welding Consumables | These include electrodes, torch tips, shielding gas, and other materials required for specific welding techniques. |
| Welding Brush | A welding brush is used to clean the welded joint and remove any slag or debris. |
By investing in the right safety apparel and equipment, you can ensure a safe welding environment and achieve high-quality welds. Remember, proper training and adherence to safety guidelines are equally important for a successful welding journey.
Setting Up Your Welding Workspace
Creating a suitable welding workspace is essential for ensuring safety and maximizing efficiency. Here are some key considerations:
Ventilation
Proper ventilation is crucial in a welding workspace to remove fumes and gases produced during the process. It is recommended to have a well-ventilated area with exhaust fans or natural ventilation. This helps to maintain clean air quality and protects you from harmful fumes.
Workbench or Welding Table
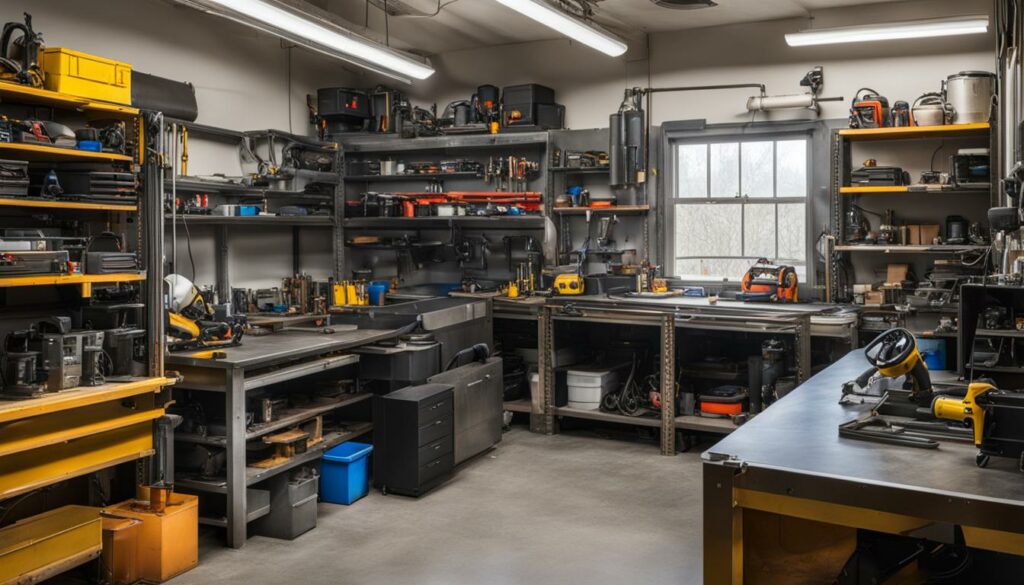
A sturdy workbench or welding table provides a stable surface for your welding projects. It should be made of a material that can withstand heat, such as steel or thick wood. Ensure that the workbench is large enough to accommodate your welding equipment and has a fire-resistant surface.
Safety Measures
Implementing appropriate safety measures is crucial to protect yourself and your workspace. Consider installing fire-resistant screens or curtains to prevent sparks or welding slag from reaching flammable materials. Additionally, keep a fire extinguisher nearby and have a designated area for storing flammable materials and waste.
Storage and Organization
Having designated storage areas for your welding equipment and tools helps maintain a clean and organized workspace. This ensures that your tools are easily accessible and reduces the risk of accidents caused by clutter. Consider using tool chests, shelves, or pegboards to keep your equipment neatly organized.
By setting up your welding workspace properly, you create a safe and efficient environment to work on your projects. Remember to prioritize safety and regularly maintain your workspace to ensure optimal conditions for welding.
Mastering Basic Welding Techniques
Now that you have a good understanding of different welding techniques and have set up your welding workspace, it’s time to dive into mastering the basic welding techniques. By following these step-by-step instructions and practicing regularly, you’ll develop the skills and confidence needed to create strong and durable welds.
Preparing the Metal Surfaces
Before starting any welding project, it’s crucial to properly prepare the metal surfaces that you’ll be welding. This involves cleaning the metal of any rust, paint, or other debris that may interfere with the welding process. Use a wire brush or sandpaper to remove any surface contaminants, ensuring a clean and smooth surface for the weld.
Additionally, be sure to properly clamp or secure the metal pieces together to prevent any movement during the welding process. This will help ensure accurate alignment and a strong weld.
Choosing the Right Settings for Your Welding Machine
Once your metal surfaces are prepared, it’s important to set up your welding machine correctly. Different welding techniques require specific settings, such as amperage, voltage, and wire speed. Refer to the manufacturer’s instructions and guidelines for your specific welding machine to determine the appropriate settings for your project.
It’s worth noting that the right settings may vary depending on the thickness of the metal and the type of welding technique you’re using. Experimentation and practice will help you find the optimal settings for different welding scenarios.
Positioning and Tack Welding the Metal Pieces
Properly positioning the metal pieces is crucial for achieving accurate and strong welds. Take your time to align the pieces precisely, ensuring they are in the desired position before starting the welding process. Use clamps or fixtures to hold the pieces in place if necessary.
To secure the pieces temporarily, use tack welds. Tack welding involves creating small welds at specific points along the joint, holding the pieces together. These tack welds will act as a guide during the welding process and prevent any movement or misalignment.
Striking an Arc and Controlling the Weld Pool
After positioning and tack welding the metal pieces, it’s time to strike an arc and start the welding process. When striking an arc, ensure that the electrode or wire is in contact with the metal surface and then quickly pull it away to initiate the arc. This will create the intense heat needed to melt the metal and form the weld pool.
As you weld, it’s important to maintain control over the weld pool. This involves moving the welding torch or electrode in a consistent and steady motion, ensuring proper heat distribution and fusion between the metal pieces. Practice maintaining a suitable travel speed and angle to achieve optimal results.
Filling the Joint and Inspecting the Weld
As you continue welding, focus on filling the joint with the appropriate amount of filler metal. The filler metal should melt and fuse with the base metal, creating a strong and uniform weld. Adjust the travel speed, heat input, and filler metal deposition as necessary to achieve the desired results.
Once the welding is complete, it’s important to inspect the weld for any defects or imperfections. Use visual inspection techniques, such as examining the bead appearance and looking for cracks or irregularities. You can also use non-destructive testing methods, such as dye penetrant or ultrasonic testing, if required.
Practice Makes Perfect
Mastering basic welding techniques takes time and practice. Don’t be discouraged if your first welds aren’t perfect. Keep practicing, experimenting with different settings and techniques, and learning from your mistakes. With each project, you’ll gain valuable experience and refine your skills as a welder.
Now that you have a solid foundation in basic welding techniques, you’re ready to tackle a wide range of welding projects with confidence and precision.
Conclusion
Now that you’ve reached the end of this comprehensive guide, you’ve gained valuable insights and practical tips to help you become a master of home DIY welding repairs. By understanding different welding techniques, prioritizing safety precautions, and having the right equipment and tools, you can confidently take on welding projects with ease.
Remember to always prioritize safety and continue refining your welding skills. Regular practice will help you develop the necessary expertise to create strong and durable welds. Whether you’re working on artistic sculptures or structural repairs, mastering basic welding techniques is the key to achieving impressive results.
With the knowledge you’ve acquired, you’ll be able to prepare metal surfaces, choose the right settings for your welding machine, control the weld pool, and inspect your welds for defects. By following these steps and incorporating the tips you’ve learned, you’ll be well on your way to becoming a skilled DIY welder.
FAQ
What is welding?
Welding is a fabrication process that joins metals together using heat.
What are the different types of welding?
The different types of welding include oxy-acetylene gas welding, arc or stick welding, MIG welding, and TIG welding.
Where can I learn welding?
You can attend classes at art schools, trade schools, or access online tutorials. The Crucible offers a range of welding classes for beginners and advanced learners.
How can I choose the right welding technique for my project?
Each welding technique has its advantages and applications. Understanding the principles and applications of each technique is essential to choose the right one for your project.
What safety gear and equipment do I need for welding?
Safety gear includes welding helmets, safety glasses, long-sleeved work shirts, welding aprons or jackets, welding gloves, denim pants or work pants, and leather work boots or shoes. Essential equipment includes a welding machine, welding torch or gun, wire feeder, welding consumables (electrodes, torch tips, etc.), and a welding brush.
What should I consider when setting up my welding workspace?
A suitable welding workspace requires proper ventilation, a sturdy workbench or welding table, safety measures such as fire-resistant screens or curtains, and designated storage areas for welding equipment and tools.
What are the steps to mastering basic welding techniques?
The steps include preparing the metal surfaces, choosing the right settings for your welding machine, positioning and tack welding the metal pieces, striking an arc, controlling the weld pool, filling the joint, and inspecting the weld for defects.


